Edifecs XEConnect Integration
This section shows you how to use Member Account service (MAS) in combination with the XEConnect Authorization Service to verify patient's identity. The Authorization Service is an OAuth 2.0-based authorization mechanism that can authorize client applications and limit their access to protected resources with security tokens.
During an authorization session, the Authorization Service has to verify the identity of a patient who is trying to obtain a security token. For this, the Authorization Service can delegate the verification of the patient's identity to MAS (OIDC Federation). The XEConnect Authorization Service supports OIDC Federation and is designed for seamless integration with MAS.
The following section walks you through a step-by-step scenario. The goal of the scenario is to obtain a security token from the XEConnect Authorization Service that uses the OIDC Federation and MAS to authenticate the end user's (patient's) identity.
Prerequisites
- Smart Trading Cloud: You must have a Smart Trading Organization Account (administrator) to access Member Account service as administrator. Your Smart Trading Cloud must have a Member Account service subscription.
The scenario comprises the following major steps:
Configure XEConnect
-
 Create XEConnect OAuth Client
- Open Edifecs Application Manager (EAM).
- On the System tab, expand XEConnect, then go to Authorization (OAuth 2.0) and double-click Client Management.
-
On the Outline tab, select Clients and create a new client that has the following characteristics:
- Client type is set to Confidential,
- Client ID is set to test_client,
- The grant type Authorization Code is enabled,
- Redirect URI is set to https://www.edifecs.com.
- Save the client configuration.
-
-
Configure XEConnect Authorization Service
- On your local drive, go to ${EAMRoot}\Server\bin and make sure that the file eamserver.ini has the following properties:
Copy
-Dcom.edifecs.eam.accounts.service.url=https://auth.stage.kollab.link
-Dcom.edifecs.eam.member.account.service.url=https://members.stage.kollab.link
- Go to EAM and open the configuration of the newly created Authorization Service.
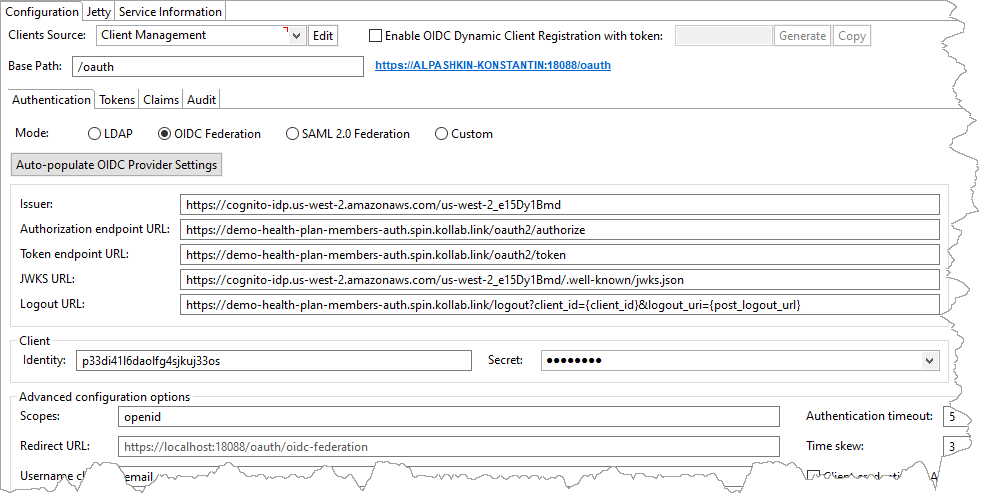
- On the Authentication tab (service Configuration tab), select the mode OIDC Federation. In this mode, the service delegates verification of the end user's identity to an identity provider - MAS in this scenario.
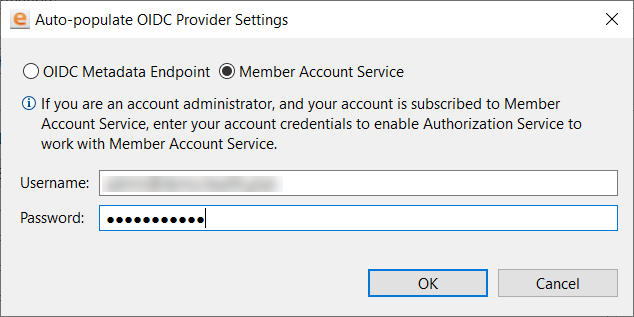
- Click Auto-populate OIDC Provider Settings.
-
In the pop-up dialog box, select Member Account Service:
-
Provide your Smart Trading Cloud credentials (administrator) and then click OK. If the credentials are correct and the account has a Member Account Service subscription, XEConnect pulls OIDC settings from MAS and populates the service settings:
-
On the Authentication tab, in Advanced configuration options, find the Redirect URL. This URL is required to conduct authorization sessions between XEConnect and Member Account service. Make sure that this URL is registered in your Member Account service. For this, sign in to your Member Account service as administrator and go to Account Configuration > Advanced > XEConnect Redirect URLs.
-
In EAM, on the Tokens tab (service Configuration tab), in the Signature section, click Generate new signing keys. You can skip the steps of saving the signing keys as the keys are used for this scenario only.
- Save the service configuration.
- Start the profile with the Authorization service.
Test the Scenario
After you have configured XEConnect, follow the steps below to test the configuration.
-
Sign in to the Member Account service as administrator and import member roster with a test member (patient) record.
-
Sign up as a test member whose record you have imported. For this, do the following:
- Open Member Account Service and click Sign Up.
- Select a health plan to proceed.
- Enter the information on the test patient that you provided in the roster and click Submit. The sample Member account is created, but for now, the account has a temporary password that you have to replace.
- Verify the email box you have used during the member account registration. Follow the Sign In link from the account registration email. On the first login, you will be prompted to replace the temporary password with a permanent one.
-
Make a request to the XEConnect authorization endpoint. For this, open the following URL in your web browser (the host and port must correspond to your XEConnect Redirect URL):
https://localhost:18088/oauth/authorize?client_id=test_client&response_type=code&redirect_uri=https://www.edifecs.com
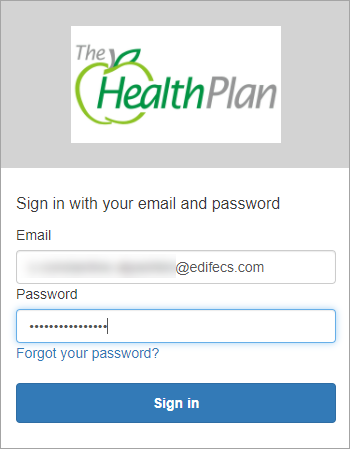
This directs you to the Health Plan login form (the Health Plan that you selected when you registered the test patient account in Member Account service):
-
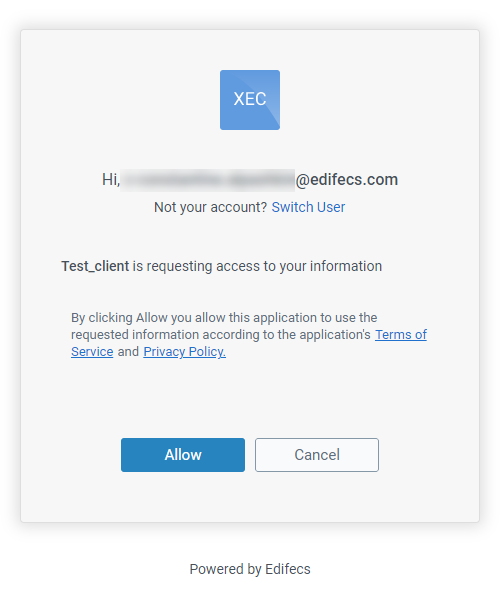
In the login form, enter the credentials of the test patient account you have registered. If the credentials are correct, you are directed to the XEConnect consent page:
- Click Allow to proceed with the authorization flow. This directs you to the Redirect URI defined in the OAuth client (in this scenario - https://www.edifecs.com/).
- Copy the access code (query parameter code) from the URL. This code is valid for a short period of time and is required to obtain a security token on the next step.
-
Make the following request to the token endpoint:
POST https://localhost:18088/oauth/token
The request must have the following parameters (x-www-form-urlencoded):
- grant_type=authorization_code
- client_id=test_client
- client_secret={clientSecret}
- code={codeFromPreviousRequest}
Where {clientSecret} is the client secret that you generated when you created the OAuth client (test_client) and {codeFromPreviousRequest} is the access code copied from the redirect URI on the previous step.
As a response, XEConnect returns a JSON file with a security token, which indicates that XEConnect has successfully authenticated the mock patient through OIDC Federation and Member Account service.